DINO CRISIS WALKTHROUGH FOR PLAYSTATION - LAST UPDATED JULY 2019
Walkthrough Home | Dino Crisis UK | Forums | Products
Copyright notice: If you want to copy this walkthrough for your own site, please ask permission BEFORE you do so and place the following code on your site at the top of each walkthrough page:
SECTION FIVE
Once in the new area, Rick gets annoyed because one of the batteries set into a wall is broken. Regina needs to find a replacement. To Rick and Regina's left is a small door leading to the Backup Generator Room B3. Follow the short passageway all the way to the end and push the shelves to find a Multiplier. Walk back to the next alcove and remove the Startup Batt. W from the power supply. Take it back to Rick.
Stand by Rick and press 'Action' to talk him. He'll take the battery and replace the broken one with it. He then tells Regina to deal with the escape route and he runs forward. Follow him to the Control Room B3, to the left of which you will see some more grenade bullets. Enter the control room, which is also a save point.
The first thing you should do is walk to the other end of the room and move the shelves to find another plug. Notice the Yellow Emergency Box and the Red Emergency Box. I strongly suggest you arm yourself well for this next part of the game!
This room has a few items; the B3 Crane Cards 1 and 2, a red memo and a multiplier. You need to make sure you have the crane cards before you leave the room. You need to exit through the door at the other side from where you entered, but I strongly suggest you save your game and arm yourself with poison darts, if you have any! If not, use the heaviest artillery you possess!
Once through the door, turn left and run towards the ladder at the other side of the room. A cut scene shows a sample of the scariest, hardest-to-kill dinos in the game! There are two of them - one bumps a container and makes it fall - you need to mash those controller buttons as fast as you can to escape it!
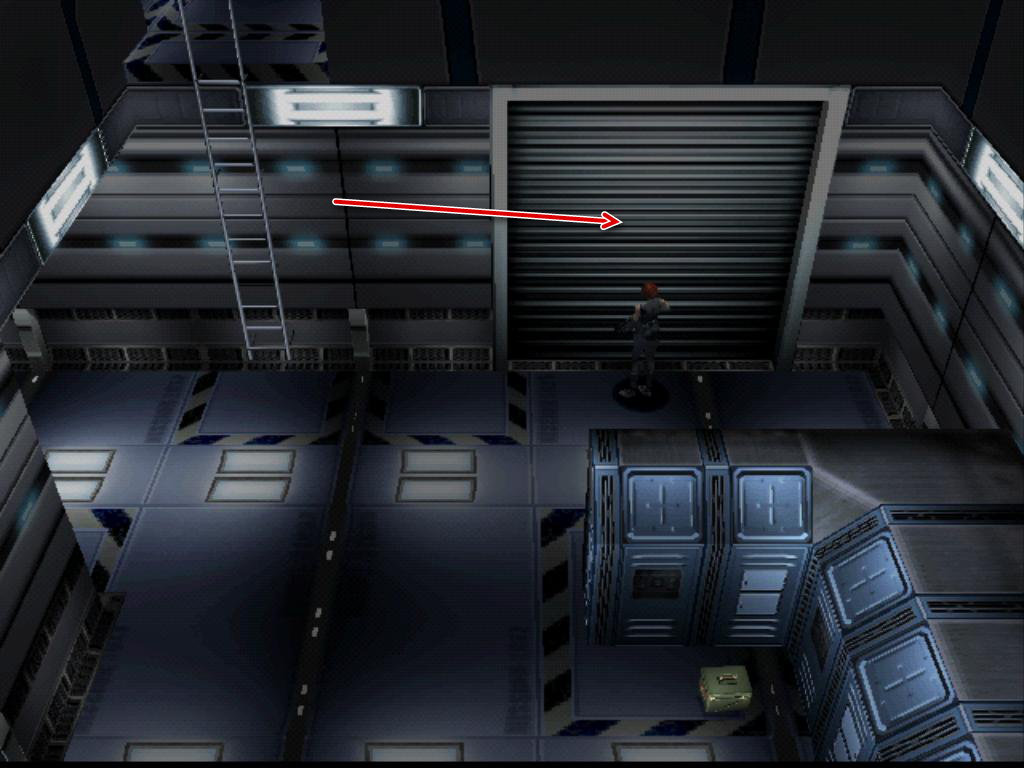
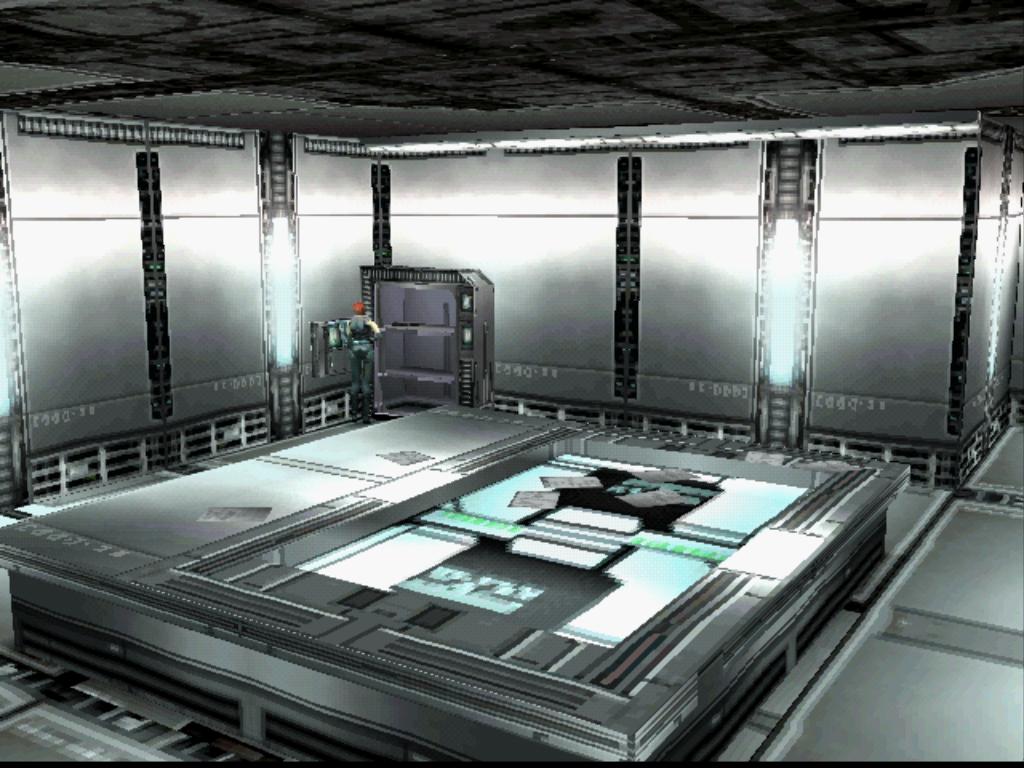
Once you've dropped the deadly duo (who will kill Regina in the worst way possible if they get hold of her!), turn and run through the General Weapons Storage door, to the right of the ladder (screenshot). Inside is a beastie you will have to kill, so let him have it! You'll see some shutters you can't access yet, as well as a couple of doors with 'Security Level A' written on them. You can't access these, yet, either. You'll also find C. O. Area Key and the B3 Crane Card 3. so pick them up and head back into the other room. You may find a resuscitation next to one of the containers.
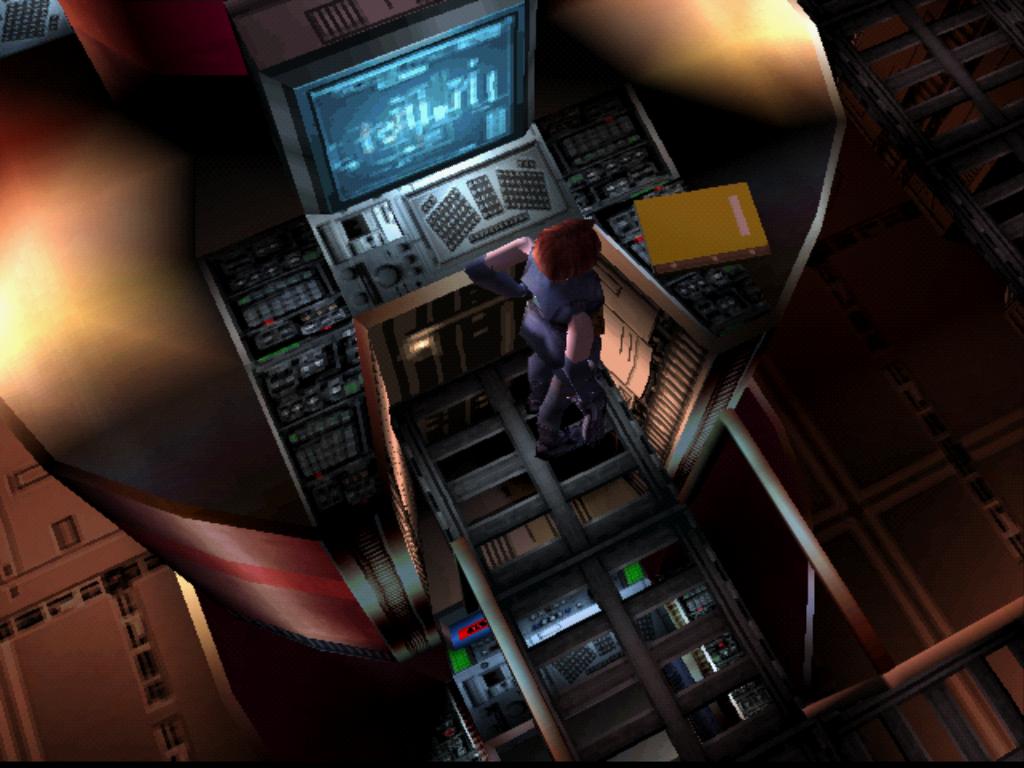
Up the ladder is the crane. You now have all of the keys to work it, so climb up, and up a shorter ladder, and get ready for another puzzle! Stand next to the crane's control panel and select the first crane card from your inventory to use the crane. You need to lift several of the containers to clear a path for Regina, but the crane cards are very limited! Do it this way:
If you make a mistake, just exit and start again. Once you've cleared a path, go back down the ladders and turn right. Walk all the way around the containers to search the body for the DDK Input Disc W.
Go all the way around and back into the control room where Rick is working. You can have a word with him if you want, but all he does is brag about his prowess with security systems! Go out of the other door and save your game if you wish.
Go past the battery alcove to find some slag bullets, and then continue on to use the C.O Area Key on the sliding doors at the end, leading to the passageway to the carrying out room. Deal with some more horrid dinos before continuing!¹
Through the Rest Station door at the other end of the passage, you can download the B3 floor area map if you want. There's also another body you may want to search for a plug.
Through the large doors to the left of the entrance you'll encounter 2 more dinosaurs. Deal with them and carry on. You won't be able to get through the shutters, so turn right and head up the stairs to the Passageway to the Experiment Area . At the top is another raptor and an An. Aid.
The room at the end of the hall is the Security Pass Room, which is also a save point. This room is important and you'll be here more than once. For now, enter the room to Regina's left and turn off the alarm from the computer. Search the room for the B2 Key Chip, the DDK Input Disc S and a plug in one of the boxes. There's also a file on the desk to read - it shows that some of the staff are beginning to be concerned about the facility and it's leader, Dr. Kirk. The terminal beside the researcher's body is another ID re-writer.
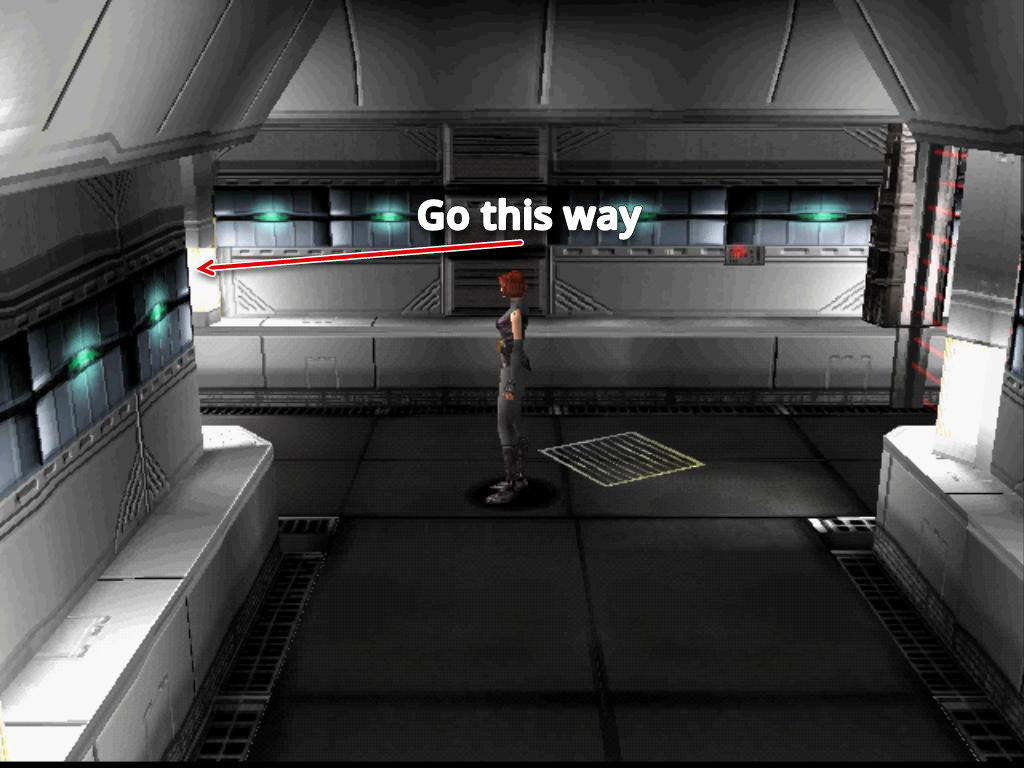
Leave the room and go back to the passageway, saving your game if you wish. In the passage is another vent you can climb. Do so and follow the vent to another opening. Drop down into the Experiment Room Hall and go ahead to the room at the end (screenshot), picking up an An. Dart L as you go. There's a door to Regina's right, but that's locked at the moment.
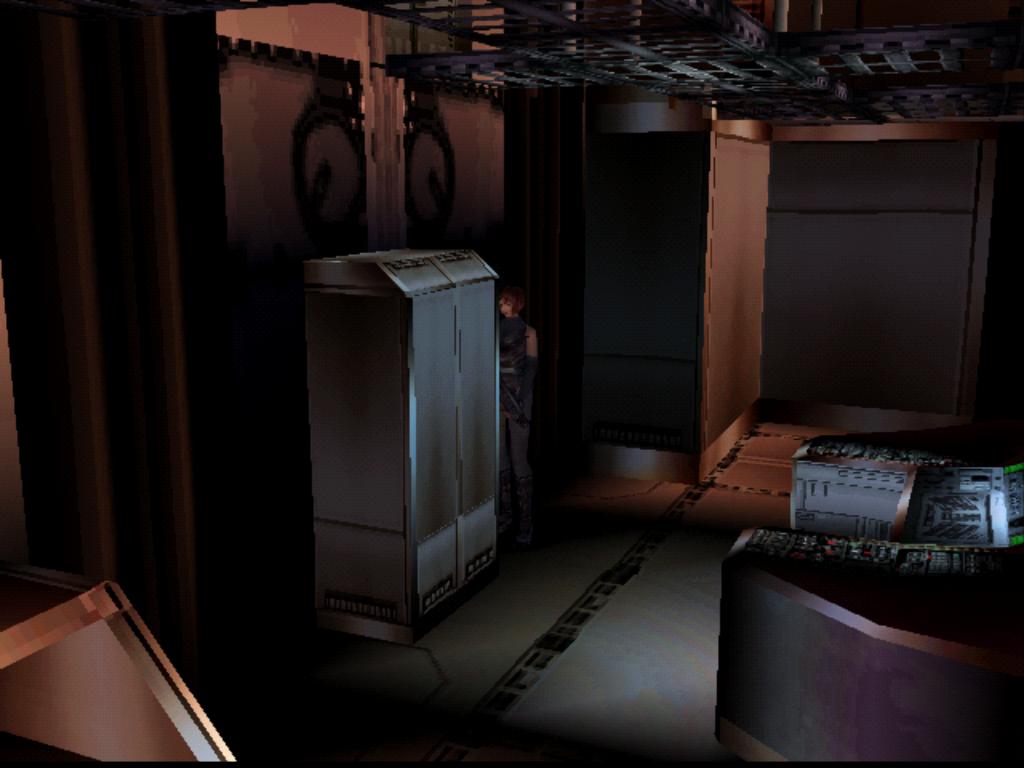
On the wall next to the door to the Researcher Rest Room is a Red Emergency Box and a Green Emergency Box. Inside the room a cut scene will show an annoyed Gail still looking for Dr. Kirk. Notice the lighted panel on the wall - that's for later! The large cabinet has a plug and there's some Slag Bullets around by the bunks. There's a yellow journal you may enjoy reading.
Exit the room and go back down the passage, turning right at the junction. As you approach the Key Card Lv. C, a cut scene shows a raptor breaking through the grating in the floor, and there's another in the passage! Mash the controller buttons until the DANGER sign disappears and then deal with the beasts. You can then pick up the key card.
The door next to the broken grating is the Stabilizer Design Room. In here you'll find the DDK Code Disc W. There's nothing much else to do here, so head back up through the vent. Save your game in the Security Pass Room if you want, and then head back down the stairs.
At the bottom, Rick will contact you to say he's managed to unlock the shutters. Behind the shutters is a plug and a Red Emergency Box and a Green Emergency Box.
Head back to the Rest Station and set the DDK's next to the door at the other end of the room. The code is WATERWAY. Through the door is the Disembarkation Immigration Office. It's also a save point.
Walk forward and search the body for a plug. Keep walking forward and a cutscene will show Rick entering the room. He has a quick chat with Regina about opening up the escape route, when the dead man's radio beeps. Someone is trying to get away with a key, but a dinosaur is after him! And would you believe it, it's the very key that the team need to get away!
Regina is commissioned to go after the man and retrieve the key before he gets eaten along with it! A map flashes up to show her where to go next. Pick up the the B2 Key Chip from the console, save your game and leave the room.
Go back through the door to the right of the green map. Follow the passage and make your way back towards the Large Size Elevator. However, as you reach it, you hear some terrifying sounds from behind the shutter. After a blood-curdling scream, the shutters are forced open and our friend, the T-Rex appears, looking at Regina with hunger in it's eyes! However, she is safe for now as the beast is electrocuted and falls down - dead?
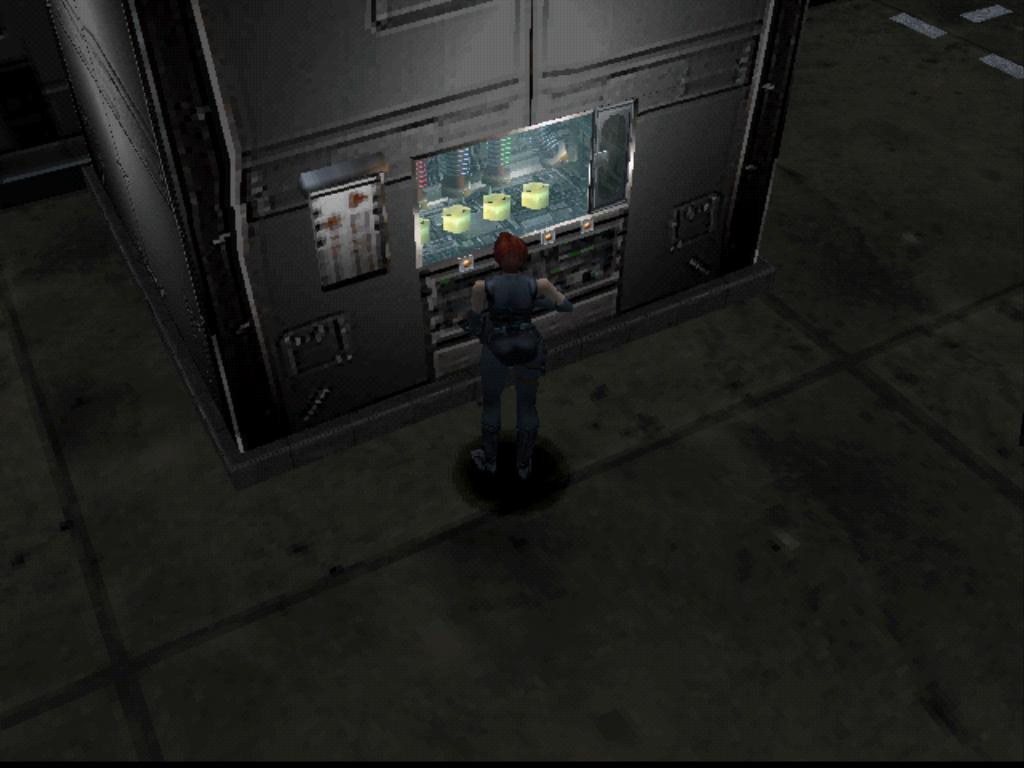
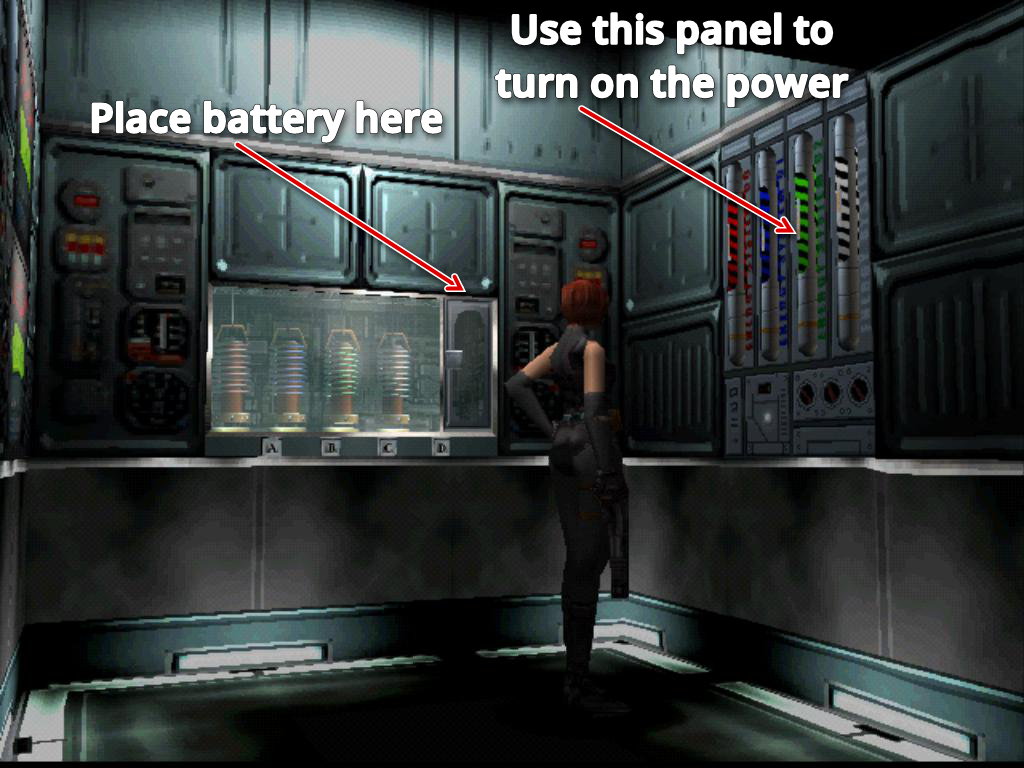
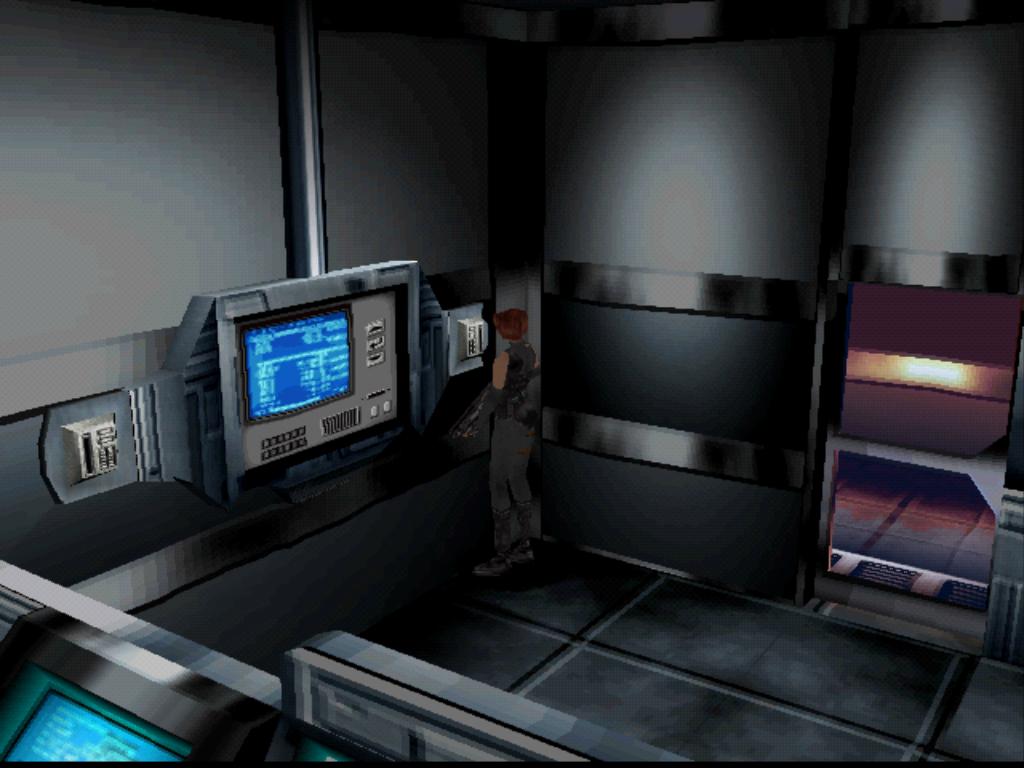
When you try to open the shutters, the power is dead. You need to remove the battery from the panel where Rick placed it (screenshot), and then go through the small door in the left corner, back to the Back Up Generator Room B3. Stand in front of the battery console and select the battery from your inventory to insert it. Do the simple battery puzzle (red, blue, green, white), and use the button next to the panel to turn on the power (screenshot).
You can now open the shutters to the elevator. Outside you find three poor guys that you heard being attacked by the T-Rex. Search them to pick up the Port Card Key the DDK Input Disc D and a plug. Take the key back to Rick in the immigration office (past the T-Rex and the battery console and through the double sliding-doors, down the passage, through the Rest Station and into the office).
Once back with Rick a cut scene shows Regina giving Rick the card, which he uses to open the door to the Passageway to the Port. However, once through it, you realise escape isn't going to be as easy as you thought, so Regina is sent on another errand. Before you go, pick up the DDK Code Disc S.
Now you have to go all the way back up to the Security Pass Room. Go out through the Rest Station and through the door to the left of the green map on the wall. Follow the passage, turn right and climb the stairs. At the top another raptor will appear from around the corner, so deal with it before continuing to the Security Pass Room. I tend to close the lasers behind me at this point, just in case!
To the left of the door, as you are facing it, is a panel with slots for two key chips (screenshot). Stand in front of each slot and select the first chip for the left side, and the second for the right side. Stand in front of the panel and press 'action' to enter the code: 0392.
This puzzle isn't as difficult as it seems. You need to re-arrange the blocks so they are the same as the images beneath them (i.e. all blanks on the left, and on the right all white on top and all red on the bottom). You can see a video on how to do this here, but it's fairly straightforward.
Once you done that, leave the room an turn left. Open the DDK lock with the code: STABILIZER. Through the door is Parts Storage. Walk forward and a decontamination sequence will begin. After it's finished walk forward and through the sliding door. There are some doors in here that can't be opened, yet, so continue forward to find yourself back in the Experiment Room Hall (this is the door you couldn't open from the other side).
Once in the hall, there are a couple of raptors...if you have time, you can turn left and run down the passage, unlock the lasers, run through and then lock them again to get the raptors in safety. If not, just blast them with your shotgun or handgun!
You need to be through the laser fence anyway, so once the dinos have been dealt with, open them, pick up the resuscitation if you need it, and enter the door to the Stabilizer Experiment Room. Deal with another raptor inside, and then search the room for a plug and the DDK Code Disc D.
In the corner of the room, close to where the raptor was, is a cabinet (screenshot). Inside are some parts to upgrade your shotgun. Open it with code 1281. Exit the room and go back down the hall to the small door you unlocked earlier. Go through it and run forward, but instead of going through the sliding door, take a left and as you now have the DDK Discs, you can open the DDK lock at the end with code DOCTORKIRK (someone has an ego!!).
Once in the passage, you will come to two doors that you can open with the re-configured key chips. Use key chip 2 on the first door and key chip 1 on the second. Pick up the An. Aid if you need it, and continue on through the next two sets of doors to reach the Third Energy Area B2. After a brief cut scene, continue forward.
You will pass a panel on the right that raises a bridge to an area filled with control panels and screens, but there's nothing you can do there, yet. Just continue on through the next set of doors to enter the Third Energy Control Room.
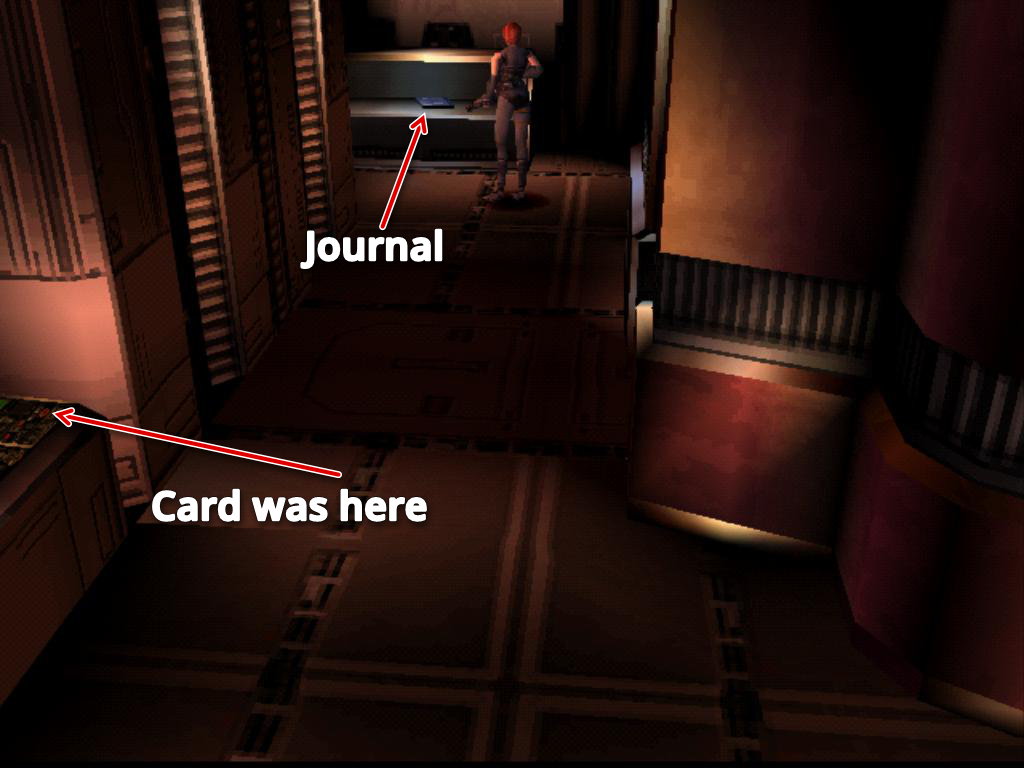
Walk ahead slightly, and descend the stairs to Regina's right. Down there, run around and push the large cabinet out of the way to find an Intensifier (screenshot). Carry on around the area to find the Key Card Lv. B on top of a console. Behind Regina is a cabinet with a journal you may want to read (screenshot).
There are a few things of interest upstairs, so go back up there. There's a small staircase leading up where you can find a plug (screenshot). On the console near the small staircase (screenshot) there is a file entitled 'How to activate and control the generator'. This may come in handy later!
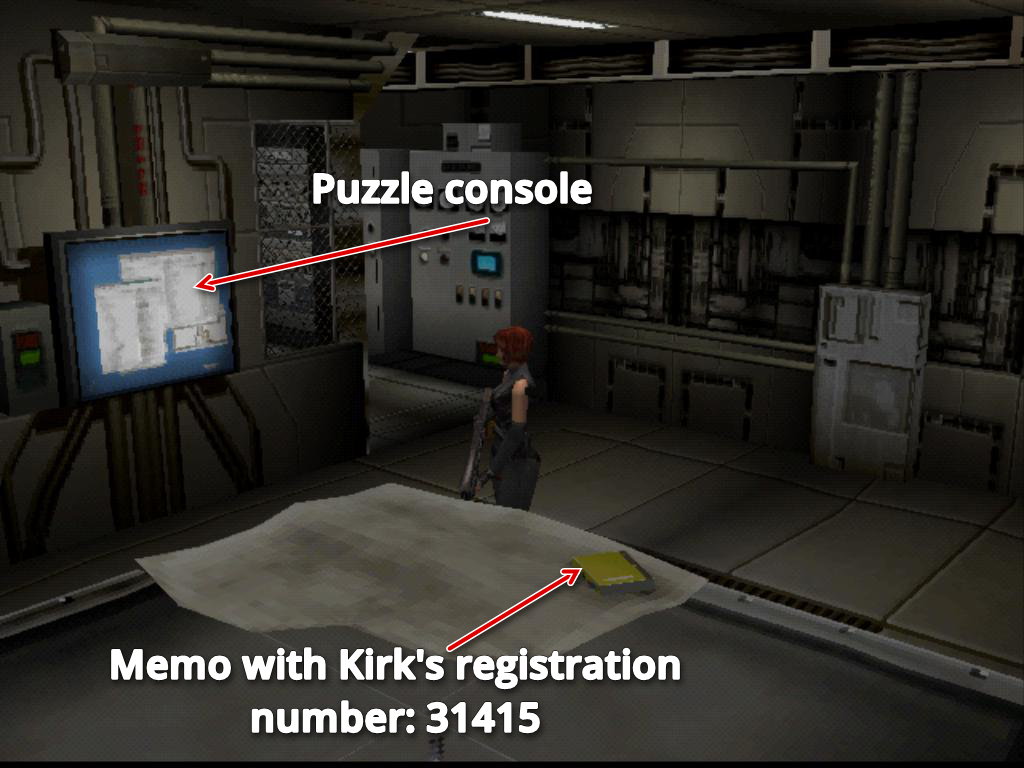
Directly opposite that console is a door - go through it to the Power Freq. Room. In there you will find a new map on the wall and a dying researcher close by it. Further in the room is a console with another puzzle to solve, and a memo on the table with Dr. Kirk's registration number in it: 31415 (screenshot). To solve the puzzle, fit the pieces like this:
Turn the B part LEFT once and place it on the grid.
DON'T TURN the C part at all, and place it on the grid
Turn the A part LEFT once and place it on the grid.
Once you've solved it, leave the room and try to activate the console just ahead (the one with the yellow file). It won't work, and Regina gets a bit mad, but then hears a gunshot from the room she's just left! Run inside and a short cut scene shows the researcher, now dead (murdered?), but she holds a memo in her hand. This holds the code to the shotgun parts you already have: 1281.
The console to the right of the dead researcher shows a bloody hand-mark. Use the fingerprint device (F.C Device in your inventory) to collect the fingerprints from it.
Continue past the blue screen and around the corner. Regina sees someone running away and follows him into the Passageway to Personal Lab. At the end of the passage is a door leading to Dr. Kirk's Personal Lab. A cut scene takes over for quite some time (I had time to make a cuppa tea!). Regina is captured by Kirk, but is rescued yet again by Gail. They discuss how to neutralise the vortex that's blocking their escape route. She receives the Key Card Lv. A, which will enable her to enter all parts of the facility. Afterwards, Rick enters and gets into an argument with Gail about which is the best way to proceed - either to assemble the Initializer and Stabilizer from scratch, or just try and find the already assembled parts. Regina has a decision to make.
Rick wants Regina to assemble the parts to avoid the areas that are 'crawling with dinosaurs'.
Gail wants Regina to find the assembled parts, which would be faster but more dangerous.
I tend to choose Gail's strategy, but as usual, there is no wrong or right choice, it's up to you.
I hope you find this guide useful. If you would like anything clarified, or would like to comment on this or anything else, please post in our forums or contact me here.