DINO CRISIS WALKTHROUGH FOR PLAYSTATION - LAST UPDATED JULY 2019
Walkthrough Home | Dino Crisis UK | Forums | Products
Copyright notice: If you want to copy this walkthrough for your own site, please ask permission BEFORE you do so and place the following code on your site at the top of each walkthrough page:
SECTION SIX
Gail's Strategy
Okay, you will need to make sure you are well stocked up on ammo as you're going to need it!
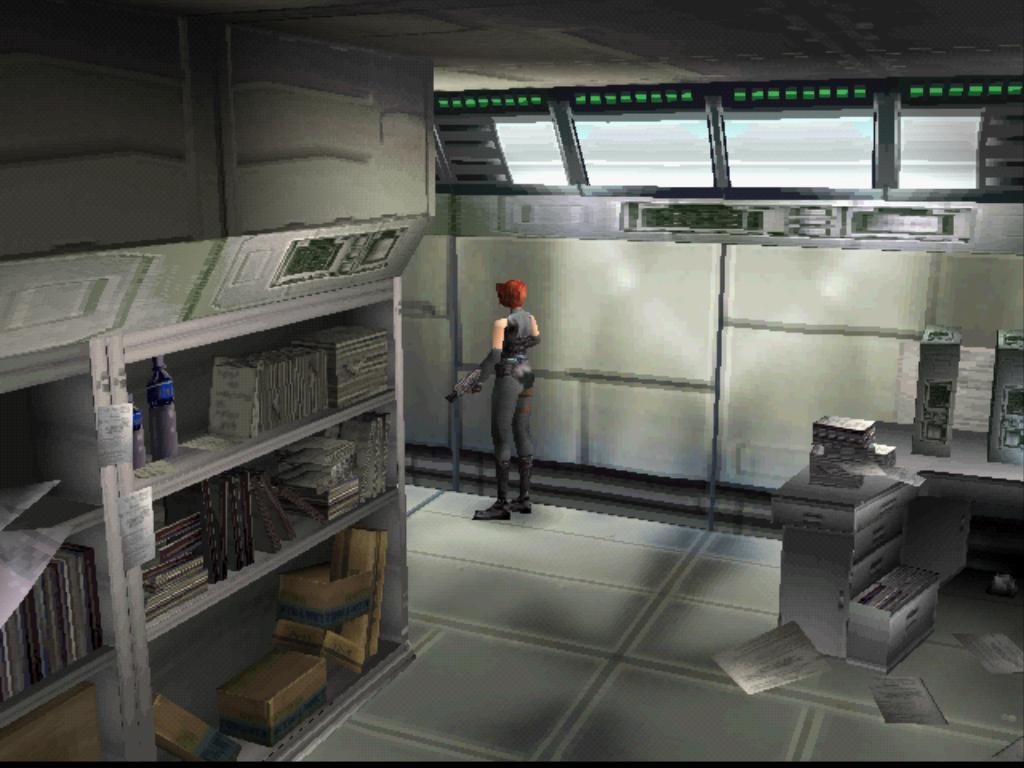
First of all, feel free to have a look around this room and Dr. Kirk's Personal Library. Inside the library you'll find a Med. Pak M and a yellow file. If you didn't take the fingerprints from the console before, you can get them from Dr. Kirk now. Back in the lab is another file that may be worth a read.
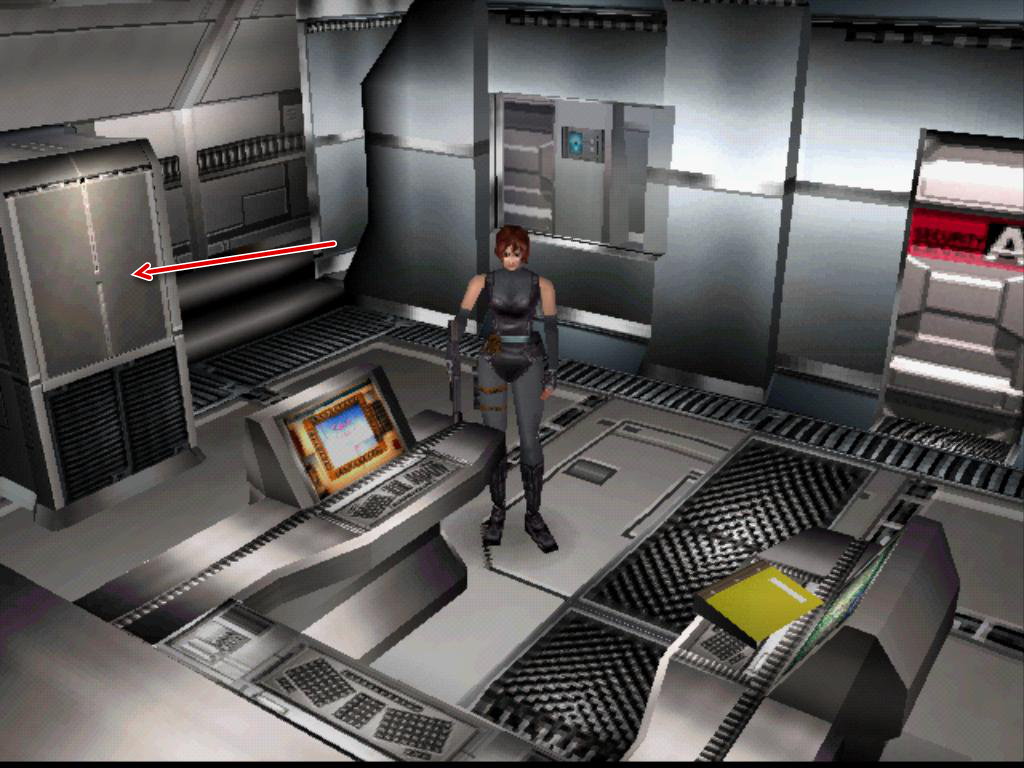
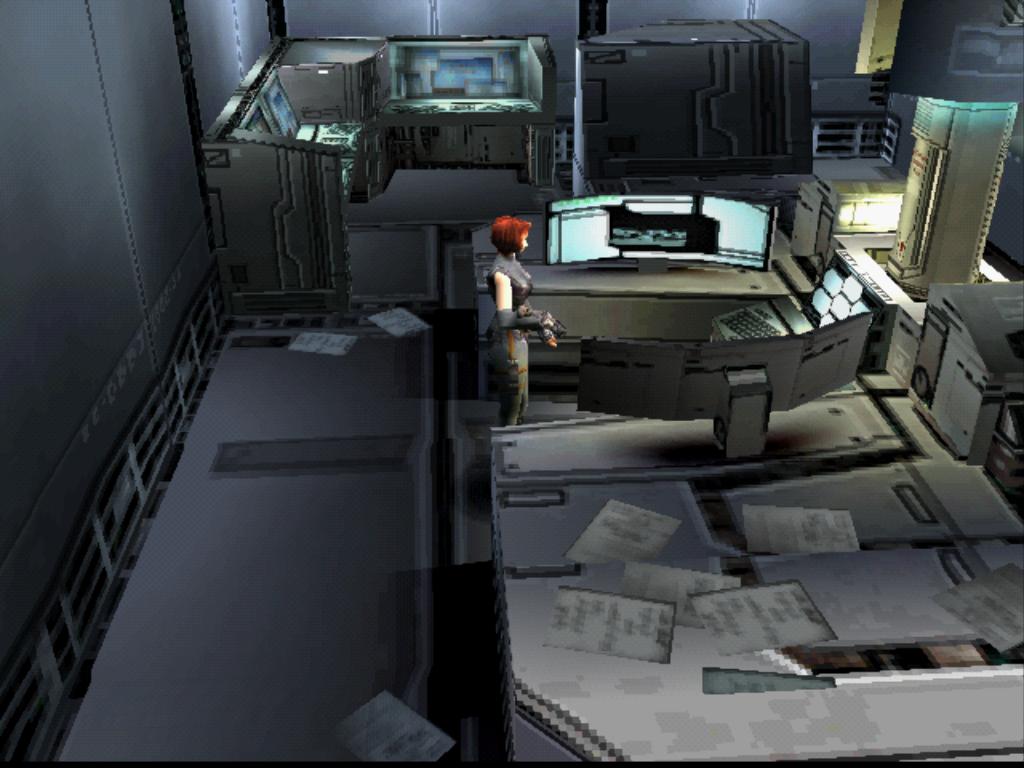
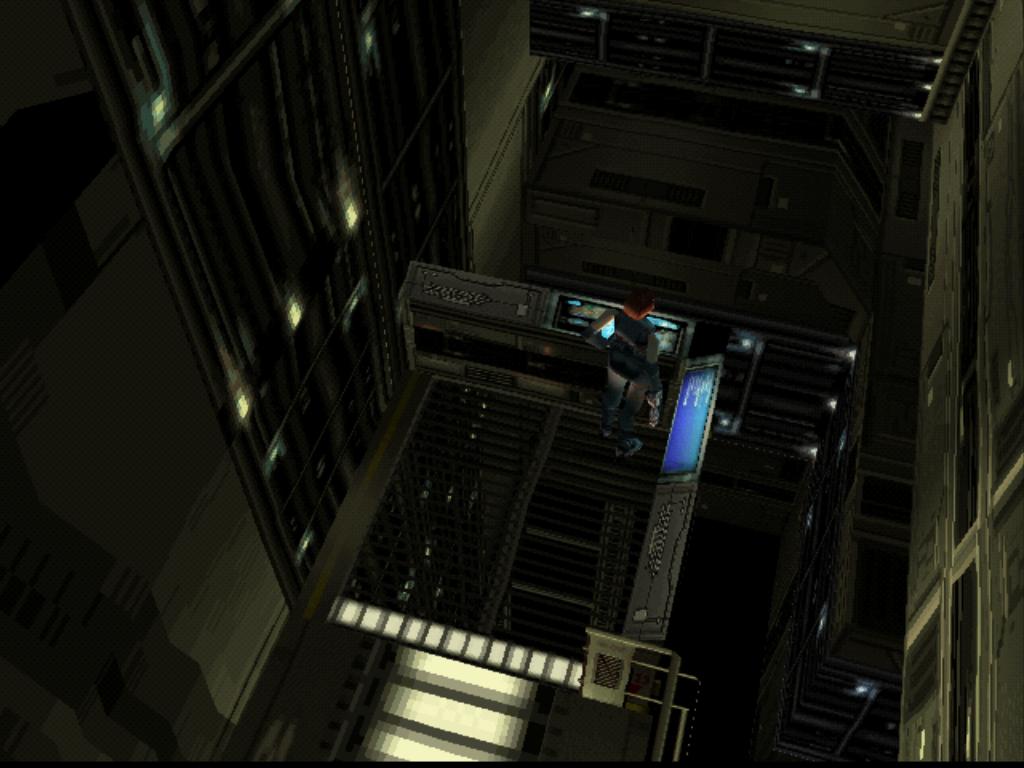
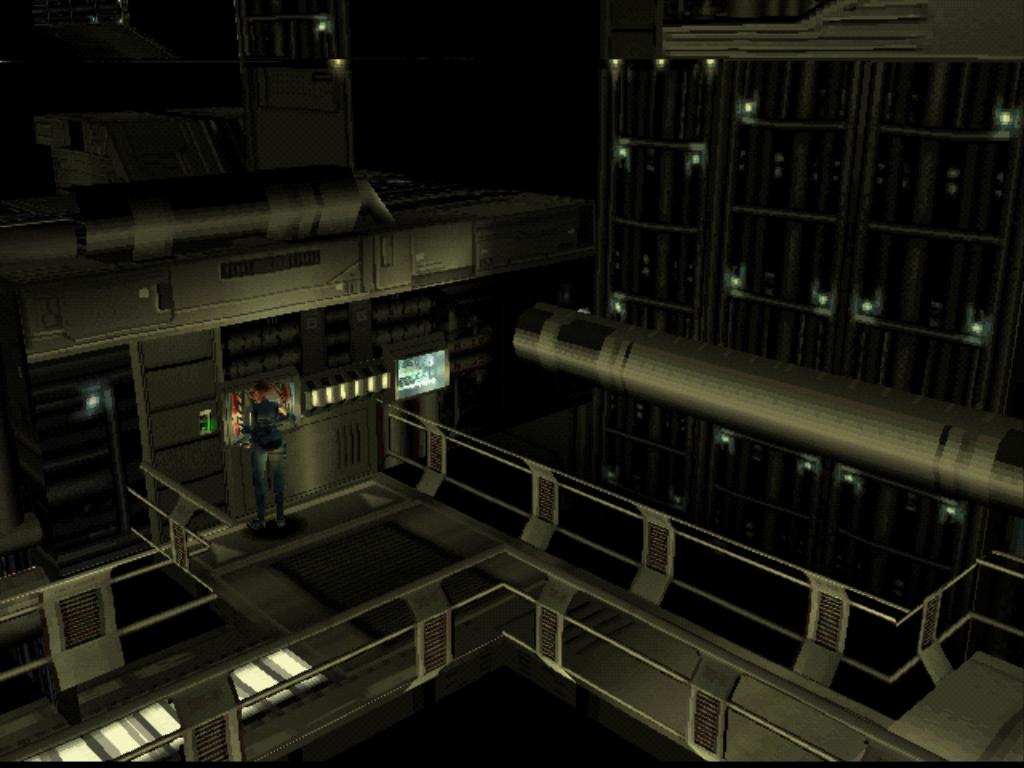
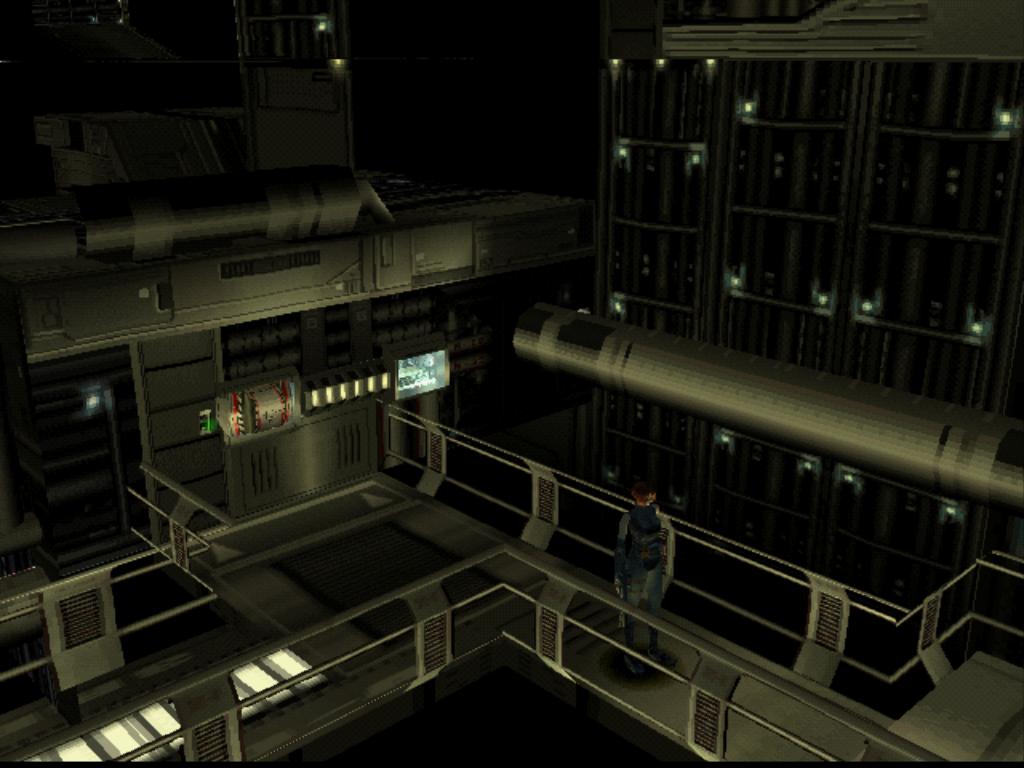
Leave the room by turning left (screenshot) and exiting through the first door you find. Turn to Regina's right and go through the door next to that one. In the passage is another raptor, get rid of it! Continue on into Parts Storage and enter the first door marked with an 'A'. This is actually where you would come to assemble the parts if you chose Rick's strategy, but there's something in here you may want to grab. Turn to Regina's left and follow the corridor to pick up the GG Parts. These are for the grenade launcher and mean you can fire up-to three grenades without having to re-load. The cabinet to the left of the doorway can be pushed aside to reveal a plug (screenshot). The yellow file on the console in the middle of the room is a memo detailing information on assembling the parts of the Initializer and Stabilizer.
Exit the room, turn right, and then left through the sliding doors to enter the Security Pass Room. Enter the room with the terminal and go to the computer near the dead researcher. Use the ID card on it, and enter Dr. Kirk's registration number: 31415. Overwrite the data grab the new ID card.
Exit through the door that leads to the staircase and save your game! Once through the door, deal with another raptor and then descend the staircase to deal with some more nasties - I recommend the poison darts or the grenade gun for these!
Follow the passage, go through the rest station and out through the door to right of the map to the Passageway to the Carrying Out Room, and another 2 beasties! Through the Carrying Out Room B3, past the T-Rex and into the Control Room B3! Go out through the door at the other end and save your game!
Once through the door there are two dinosaurs - you may need your poison darts if you have any left! You could try running past them, but it's a risk! Through the shutters at the other end is another dinosaur. If you can, you may be able to make it behind the shutters and pick the beast off with your handgun, but if not, let him have it! In the room behind the lasers there are two plugs and some grenade bullets.
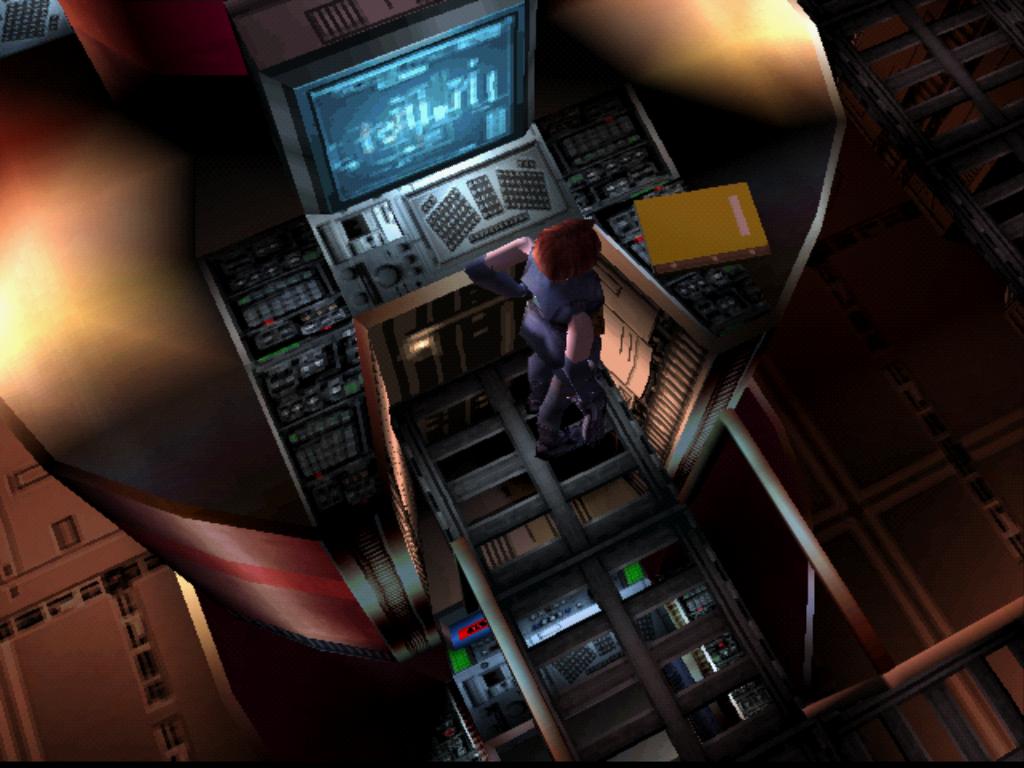
Leave the laser room and turn right. You will see two doors with 'Security Level A' on them. The large one at the other end of the room is for later. For now, enter the smaller room about half-way down. This is Special Weapons Storage. There's nothing in the room on Regina's left except a file you may want to read. The door further down on the right is the one you want. Once inside, turn right and go straight forward to the small elevator at the other side of the room (screenshot).
At the top, go forward and remove the Initializer and the Stabilizer from the left side of the storage container. Make your way back to the Security Pass Room.
Rick's Strategy
This method is best if you have little ammo as you won't encounter as many beasts, but it does take longer. Rick hands Regina the Planning Disc which is what she'll need to assemble the parts.
First of all, feel free to have a look around this room and Dr. Kirk's Personal Library. Inside the library you'll find a Med. Pak M and a yellow file. If you didn't take the fingerprints from the console before, you can get them from Dr. Kirk now. Back in the lab is another file that may be worth a read.
Leave the room by turning left (screenshot) and exiting through the first door you find. Turn to Regina's right and go through the door next to that one. In the passage is another raptor, get rid of it! Continue on into Parts Storage and enter the first door marked with an 'A'. Turn to Regina's left and follow the corridor to pick up the GG Parts. These are for the grenade launcher and mean you can fire up-to three grenades without having to re-load.
The cabinet to the left of the doorway can be pushed aside to reveal a plug (screenshot). and a blue light, which is actually a wire-tapping device. If you activate it, you'll hear a conversation, at the end of which you'll hear a series of beeps, which you'll need to remember. Once The yellow file on the console in the middle of the room is a memo detailing information on assembling the parts of the Initializer and Stabilizer. The console also has a blue screen. Stand next to this and use the Planning Disc on it. If you have a problem remembering/using the 'beep' code, here is what you need to enter: 367204. Use your direction buttons to reach the numbers, you won't need to click the 'action' button.
At the other end of the room, the parts you need slide out of the wall. Pick up the Core Parts 1 and Core Parts 2. Leave the room and turn right. You may want to pop into the Security Pass Room and then back out again to save your game. As you are standing with your back to the security pass room, go forward and unlock the door to the Experiment Room Hall and go through it. There will be two raptors here, and they are on you pretty quickly, so be prepared! You can, of course, try to outrun them and hide behind the lasers, but you may not have time!
Go towards the lasers, but turn right before them to go into the Stabilizer Design Room. A green file on top in the centre of the room details how one would start up the Generator using the Stabilize and the Initializer. It's worth a read. as the next two codes you need in this room are referred to in the file. The last code you used to get the core parts 1 and 2 was: 367204. According to this file, you need to split that number down the middle and add a zero to the beginning of each so you end up with two codes: 0367 and 0204.
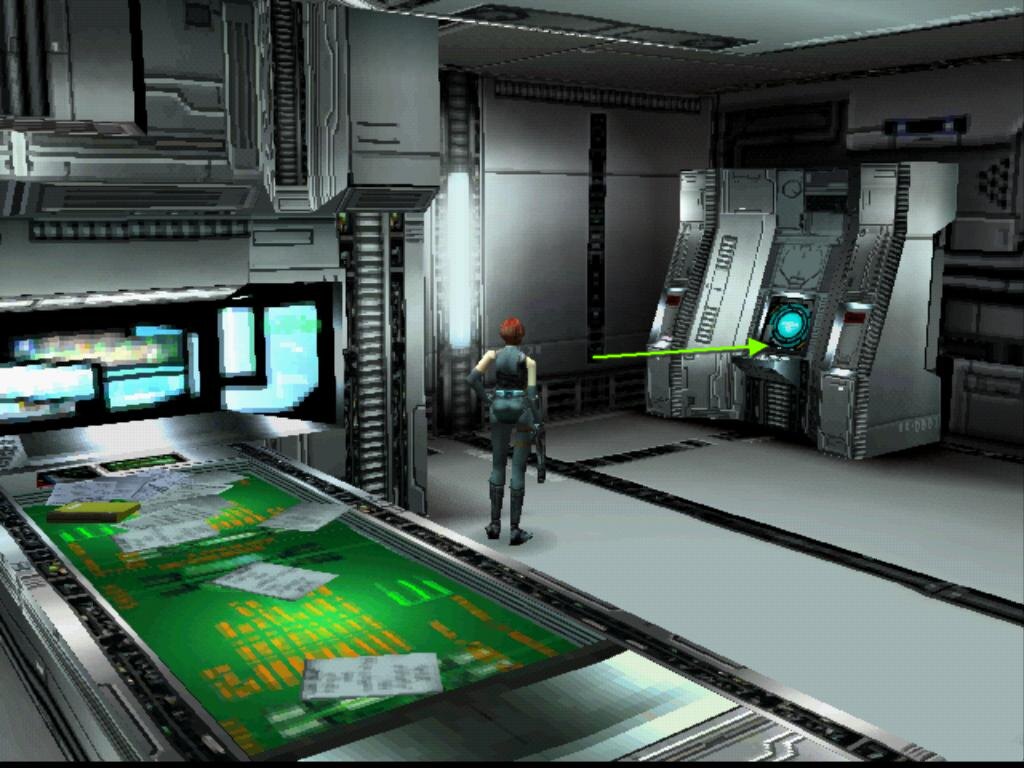
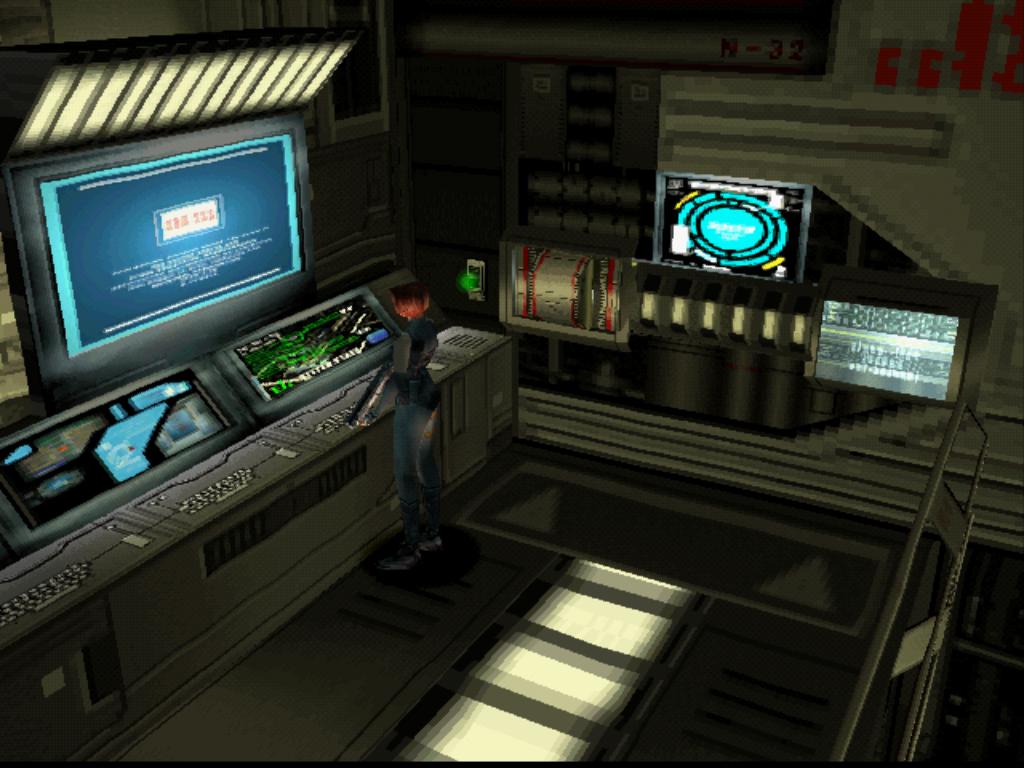
The console to the left of the file is where you use the planning disc and add the code: 0367. After, the part you need pops up, so grab the Protect P. 1-B. The other console is at the far-right corner of the room (screenshot). Use the Planning Disc and enter the second code: 0204. The parts, Protect P. 1-A and Protect P. 2-A appear at either side of the console, so take them out.
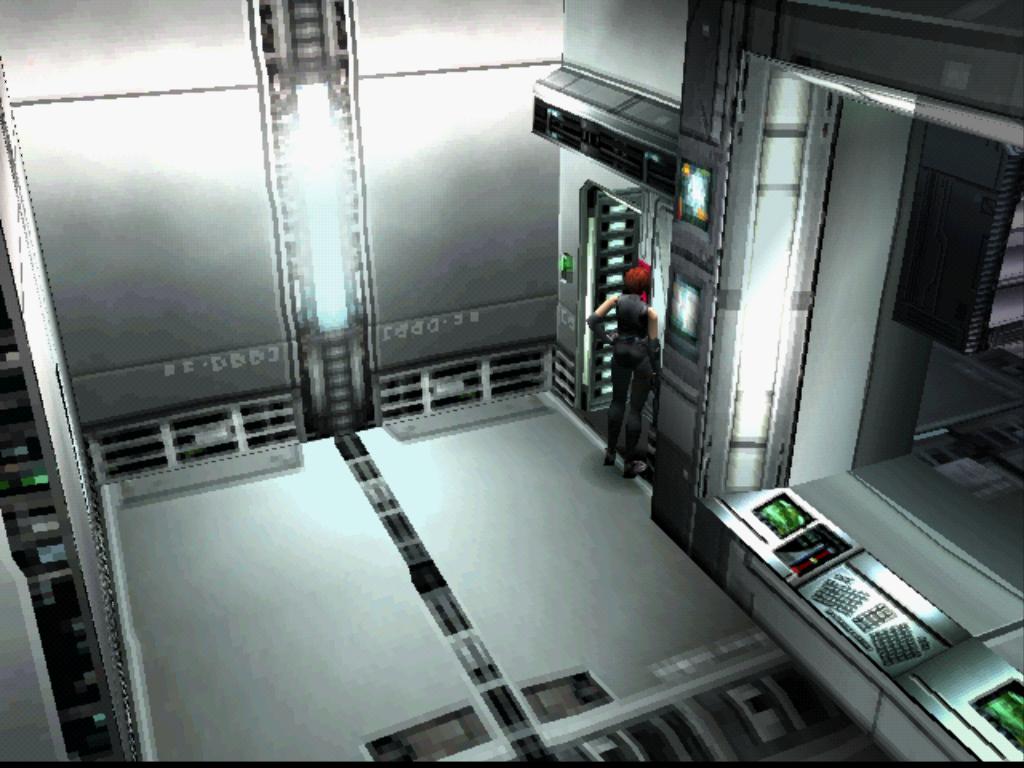
Leave the room and turn right past the lasers. The room behind the lasers is the Stabilizer Experiment Room. Once inside, turn right and make your way to the small door at the end of the room (screenshot). Inside, turn right and use the Planning Disc on the console there (screenshot). The Protect P. 2-B part slides out - take it and get ready to assemble the finished parts!
In the same room, go the console which will enable you to assemble the parts (screenshot). Walk over to it and select one of the parts you have just collected. There will be another puzzle, but it's very simple. On the screen, you just need to rotate the parts so the green line is in line with the part moving towards it. You will have to do this twice. Once you've done it, take the parts and make your way back to the Security Pass Room.
To Continue...
Once back in the Security Pass Room, you need to re-write the ID card you have with Dr. Kirk's registration number and fingerprints. This will give you full and complete access to everything in the facility. Go to the computer console by the dead researcher and use the ID card on it. Enter the reg. number: 31415 and you will receive the modified ID card.
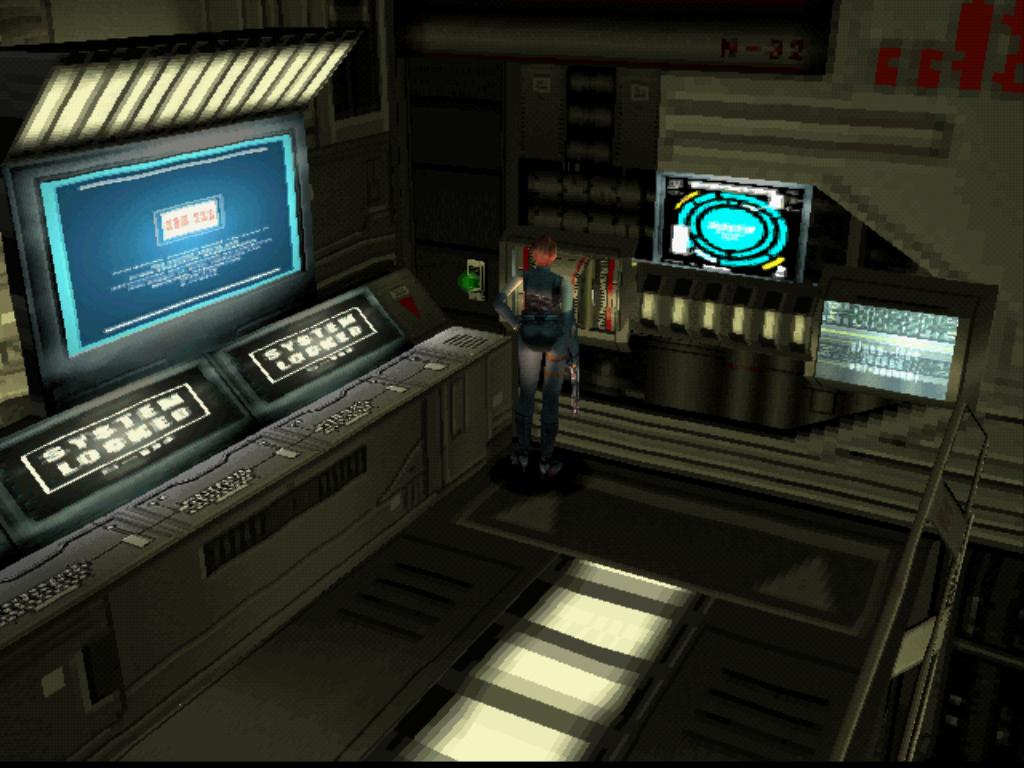
Now you need to make your way back to the Third Energy Area B2. Leave the room, turn left and exit the Security Pass Room, saving your game if you wish. Head through the sliding door, turn right and through the door at the far-right of the passage. Carry on straight ahead all the way, through the doors into the Third Energy Control Room. Turn left in the control room, and then left again. This takes you to the control panel Regina couldn't access earlier, by the short stairway, opposite the Power Freq. Room (screenshot). Press 'action' to operate the console. Okay, now we are getting somewhere! The console tells you that the system is ready and you need to set the Initializer and the Stabilizer.
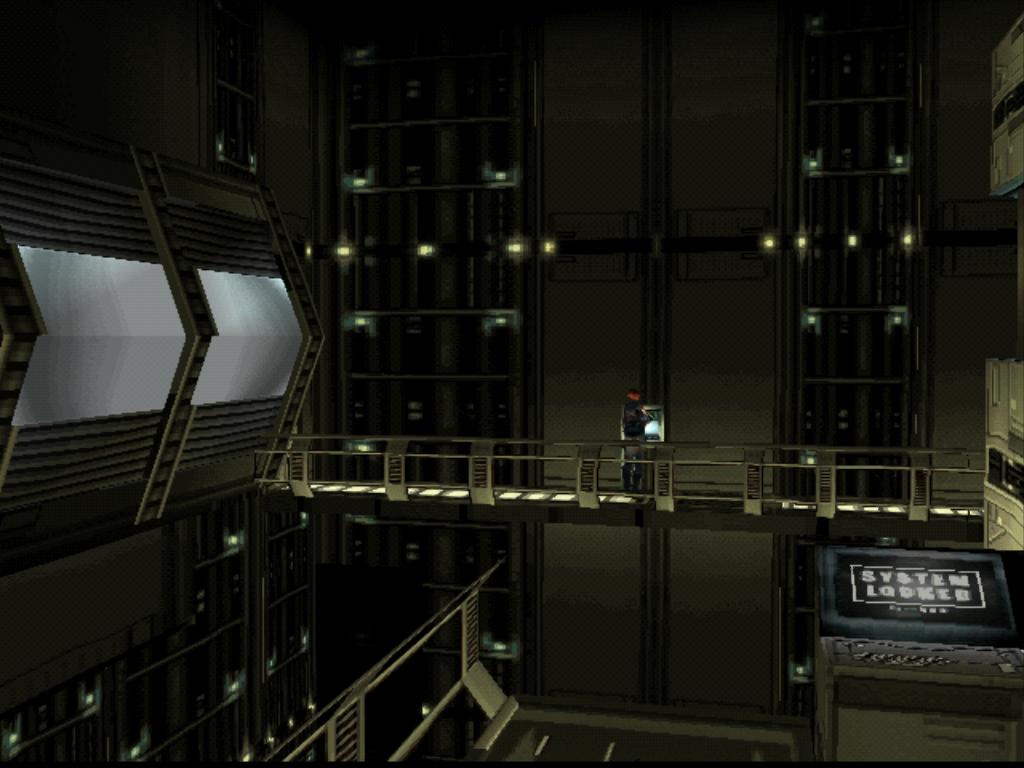
Go back the way you came until you reach the area with the bridge console (screenshot). If you didn't open the bridge before, do it now by standing in front of the console and pressing action. Over the bridge is the where you need to set the Stabilizer. Walk to the end and stand in front of the panel to the right of the green light (screenshot). Press 'action' to open the panel. Select the Stabilizer from your inventory to set it.
Once that has been done, go back over the bridge and turn right. At the end, turn right again and stand in the small elevator (screenshot). Press 'action' to be taken down to the Third Energy Area B3. There's only one way you can go down here. Follow the passage, go up the stairs and down them at the other side, keep going until you reach another panel (screenshot). Press 'action' top open it, and then select the Initializer to set it.
Now we are going to activate the generator! Turn around and walk to the area immediately behind the panel (screenshot). Walk ahead to find a plug and a console. Stand in front of the console and press 'action' to activate it. A small cutscene shows things starting to set into place! Go back up the elevator and across the bridge to do the same thing with the console to the left of the Stabilizer panel (screenshot).
Now things start to get exciting! A cutscene shows Regina and Rick planning to overload the generator and hoping they can escape before the whole place goes up! Back in Dr. Kirk's laboratory, the shaking of the building brings down part of the ceiling. Gail pushes the doctor out of the way, but gets caught under the rubble himself. He manages to throw a tracker onto Kirk's back before the ungrateful doctor runs out, leaving our hero crushed and bleeding!
Regina finishes up at the top of the steps near a door. Run though it, past the bridge to the two doors next to each other. Take the one on the right to get back to Dr. Kirk's Personal Lab. Go into the library room to find Gail. He hands Regina the Pulse Receiver before he blacks out. With this she can track the doctor. She manages to help Gail and takes him to where Rick is, in the Disembarkation Immigration Office.
Now, this is where the final decision rests on Regina. Rick wants to forget the mission and just get out of there! Gail, or course, wants to continue the mission and go after Kirk. What do you do? There are three different endings. If you choose Rick's way, you will get one of the endings. Gail's way has a choice of two endings. I'll detail all of them here so you can decide, or even go for all of them by playing the game through again! :)
I hope you find this guide useful. If you would like anything clarified, or would like to comment on this or anything else, please post in our forums or contact me here.